Interface controls
Moving in time
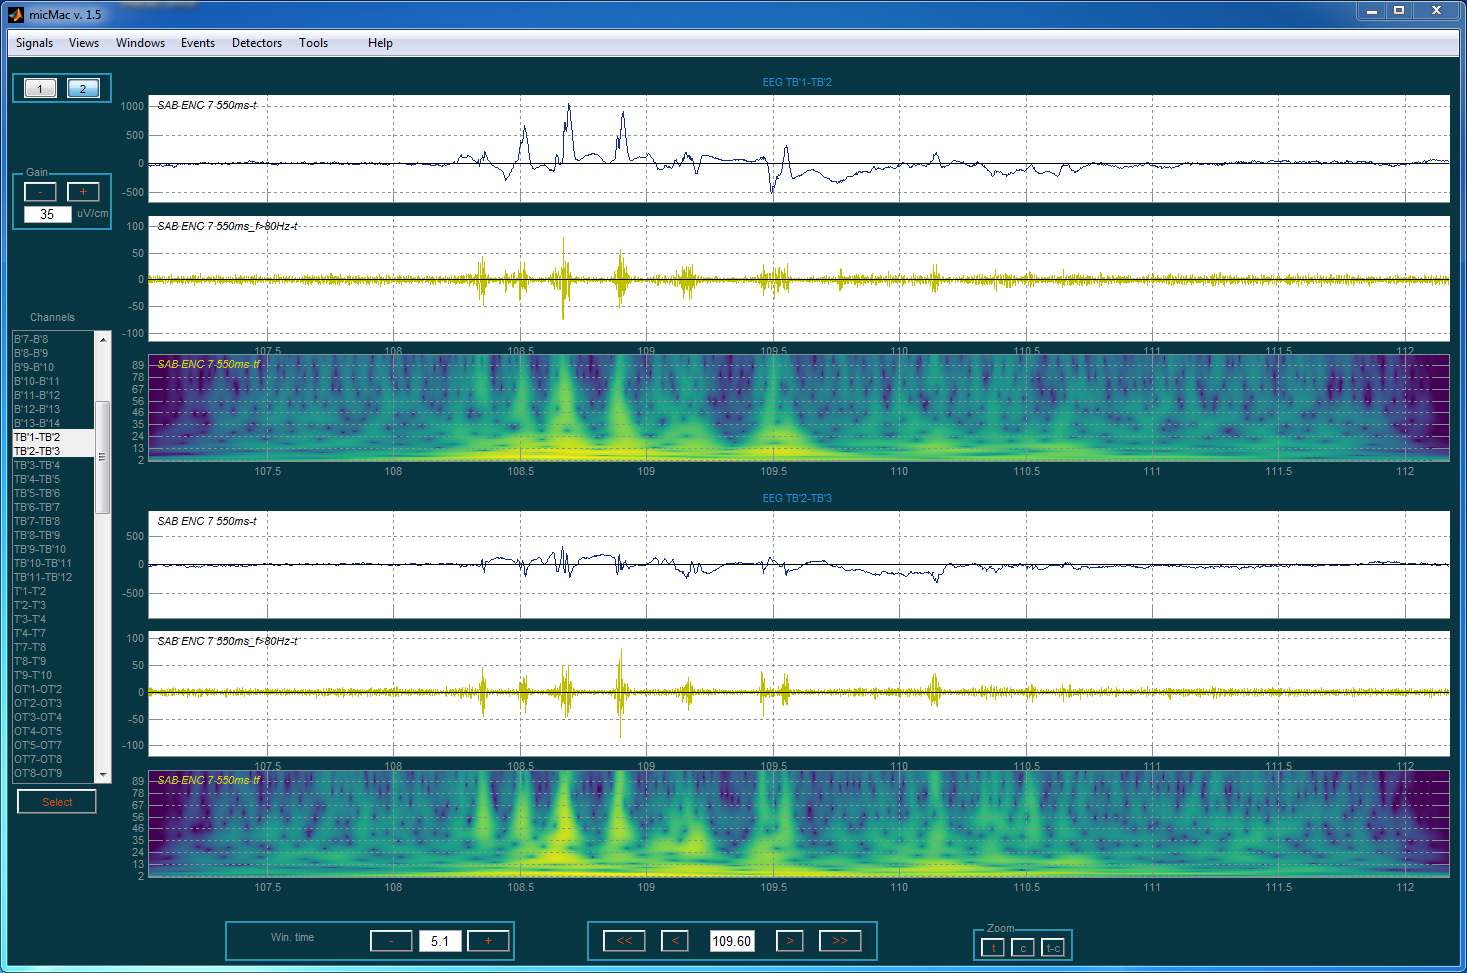
The middle bottom panel is used to navigate in time. The user can either enter the desired time in the edit box or use the buttons. The four buttons allow the user to move backward or forward with a small or large time step.

Time selection panel
The time window size panel is used to modify the length (in seconds) of the time window. The - and + buttons respectively decrement and increment this value by 0.1s.

Time window size panel
Channel Selection
Channels can be selected using the left panel. Pushing the Select button or pressing the Enter key validates the selection.
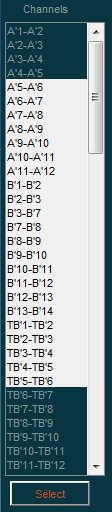
Channel selection pannel
Zoom buttons
Three zoom buttons are available to quickly zoom on a particular area of the signal.
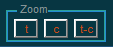
zoom buttons
The first one named t is a temporal zoom. When pressed the user is asked to delimit a temporal area.
The second zoom button c is the equivalent of the temporal one but with channels.
The third one t-c is a combination of the two previous one. This time the area to zoom on is delimited both in the time axis and in the channel axis.
Note
The channel zoom c and temporal-channel t-c zoom buttons are only activated on Stacked Mode (view mode 1).

Time selection with the temporal zoom button
Gain
To modify the gain, first select the view by clicking anywhere on its axis. Then push the - or + gain buttons to either decrease of increase the gain associated with this view and view mode.
Each view has his own gain. Each view mode gain is independant.
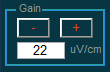
gain buttons
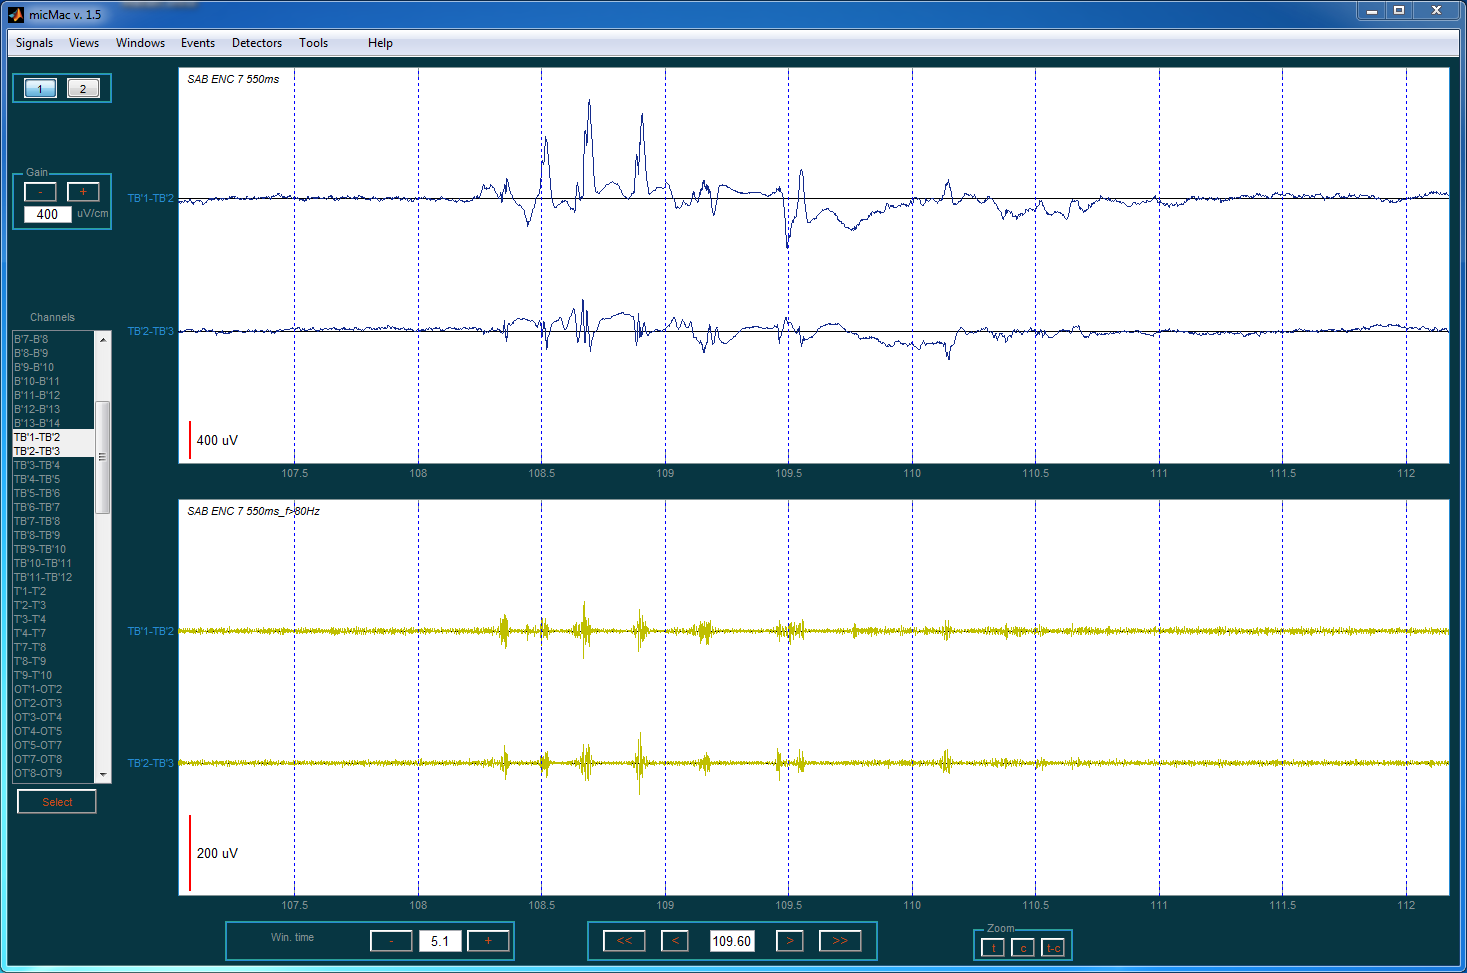
View mode
micMac allows two view modes. It can be switch using the top left panel.

View mode buttons
The first mode, Stacked Mode shows all the channels stacked on a single axis. This is convenient for a global view of the signal, with many channels selected. When two views or more are on, each view has his own axis.
Warning
The Stacked Mode only shows temporal views. The frequency or temporal-frequency views can only be seen using the Spaced Mode.
The second mode, Spaced Mode seperates each channel on his own axis. In this mode, the interface creates an axis for each view and each channel. It is useful for more precise view. On Stacked Mode, the axis are organized by view. With the Spaced Mode, axis are organised by channel.
Note
These two modes can be combined using multiple windows to have both global and precise views of an event of interest.
Stacked Mode
Spaced Mode